Backdrop hacks – two backdrops on single set of lightstands
Posted inDIY, How To, Photography, Videos
Backdrop hacks
When I’m doing any kind of photography in the studio or in a small corner of the house. I like the flexibility of being able to quickly change the backdrop easily.
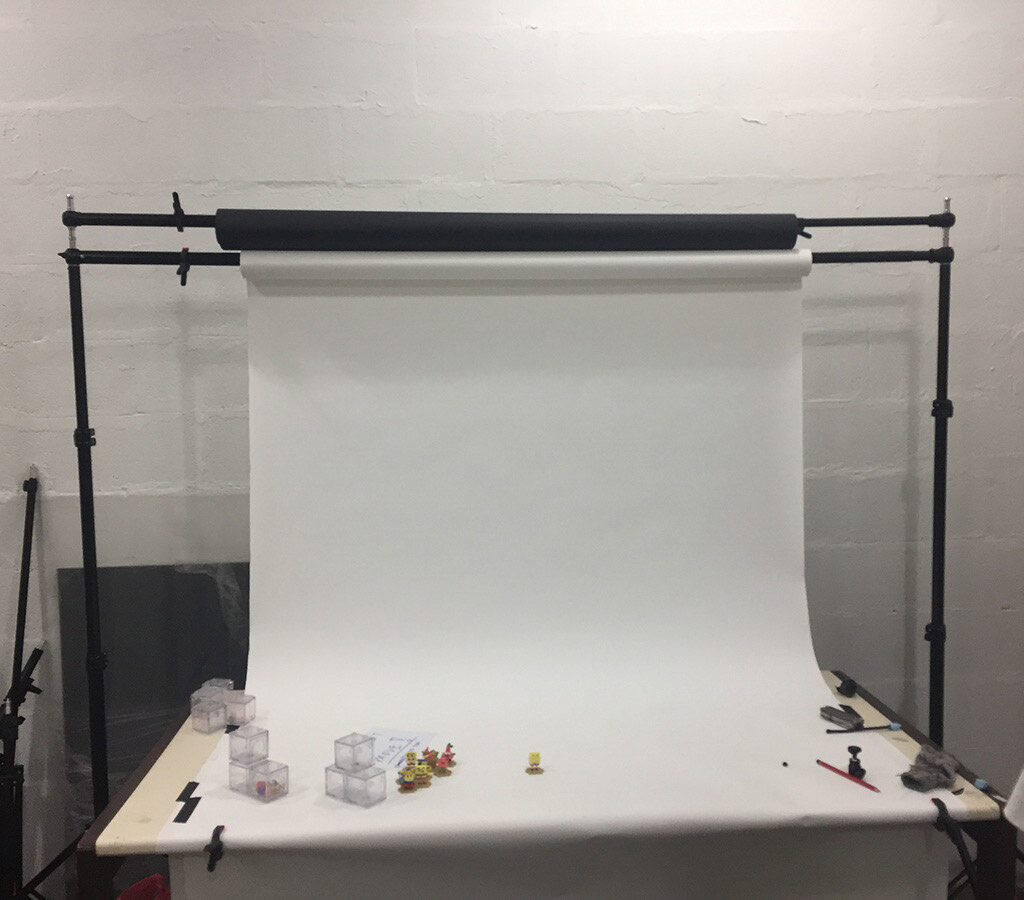
The two most used backdrops i used while at Comicave was black and white Savage backdrops. Sometimes i will be doing some catalog work for some product, and then suddenly im needed to photograph a content feature or a packaging photo because the sample figure needs to be returned to manufacturing side asap. So the swiftness in my setup for switching out the backdrop is very very important.
Why not just buy it?
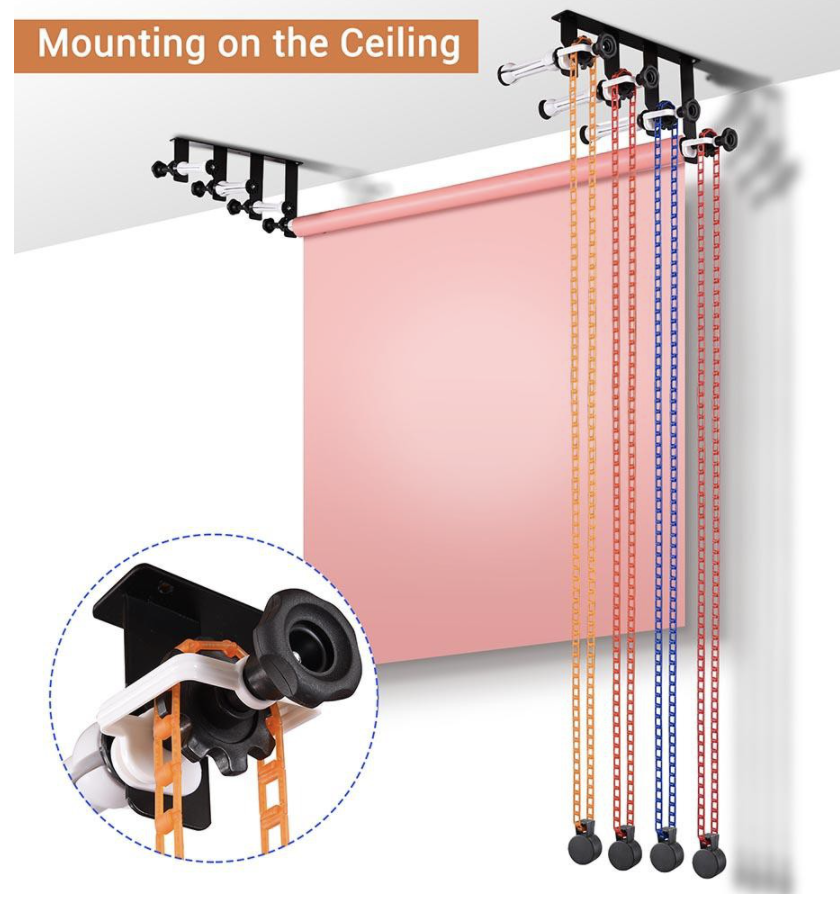
Sure, off the shelf options exist and they come in variations of being attached to the wall or even be fixed on top of the lightstands and all, but those cost a bit of money and i would rather use whatever budget they have to strengthen the lighting gear that we desperately needed.
But sometimes good backdrop hacks are done just for the fun of it. So let’s get into it!
*edit* Things were somewhat more expensive in 2017 than it is now. A multi-tiered option is quite affordable now.
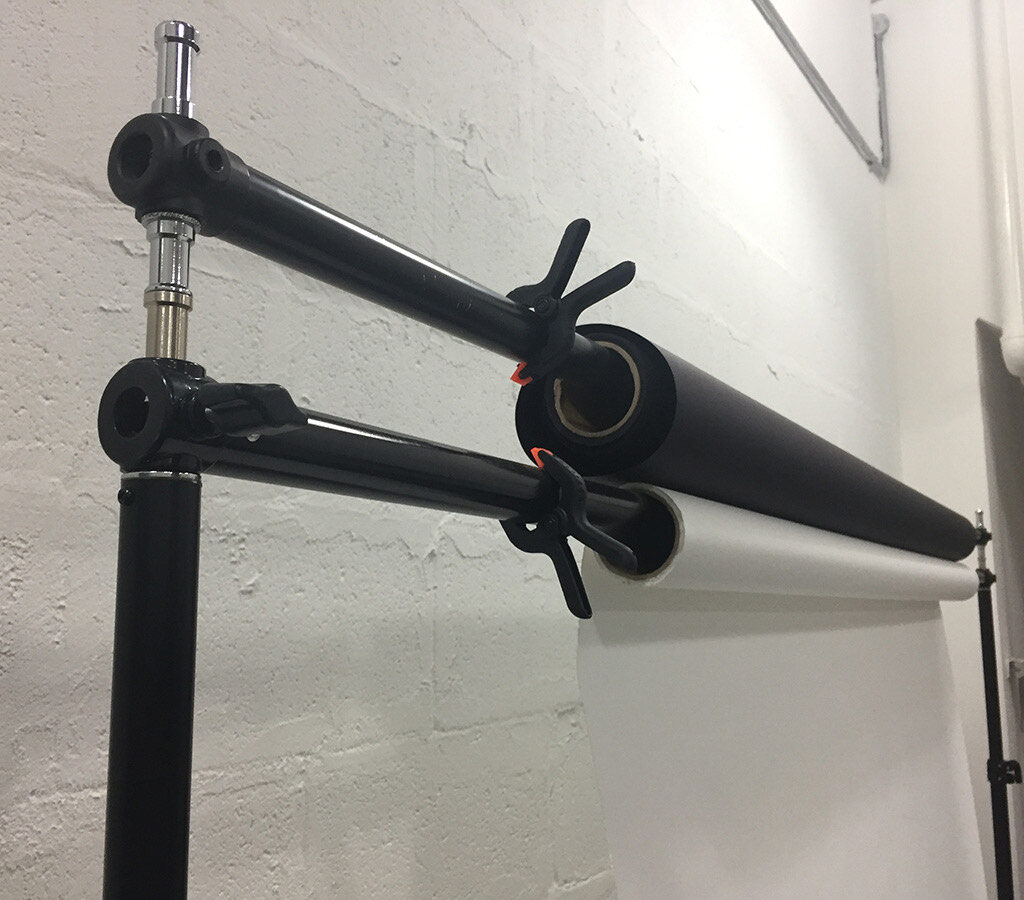
Can’t really remember what the parts were origninally used for, but i just went to a few camera shops in Funan and asked to look at their available spigots. Especially ones that sort of added some significant height and can be screwed on to the existing threads on the lightstand.
The height of the spigot need to be tall and high enough to clear the diameter of the roll of backdrop you currently have. Here, i used another spigot that provided additional height and my backdrop fit beautifully.
Putting it all together
Assembly is pretty straight forward. Screw everything together for each side. Then screw those onto your existing lightstands. Make sure to use the heavy duty ones and not the cheaper flimsy lightstands that comes free from certain purchases of camera gear.
Slide your 2 backdrops crossbars into each backdrops and then attach those on the lightstands and you’re good to go. A quick and easy backdrop hack you can use in the studio or home.